Guide to make the perfect sun prints with kids • Award winning DC family photographer
Ultimate guide to make the best cyanotype prints
June 21st is the longest day of the year: the summer equinox and the perfect time to explore the magic of sunlight with cyanotypes (or sun prints).
As a photographer, I’ve done cyanotypes from my photos and sometimes we had fun exploring with my kids. It’s magic, you can take a picture without a camera!
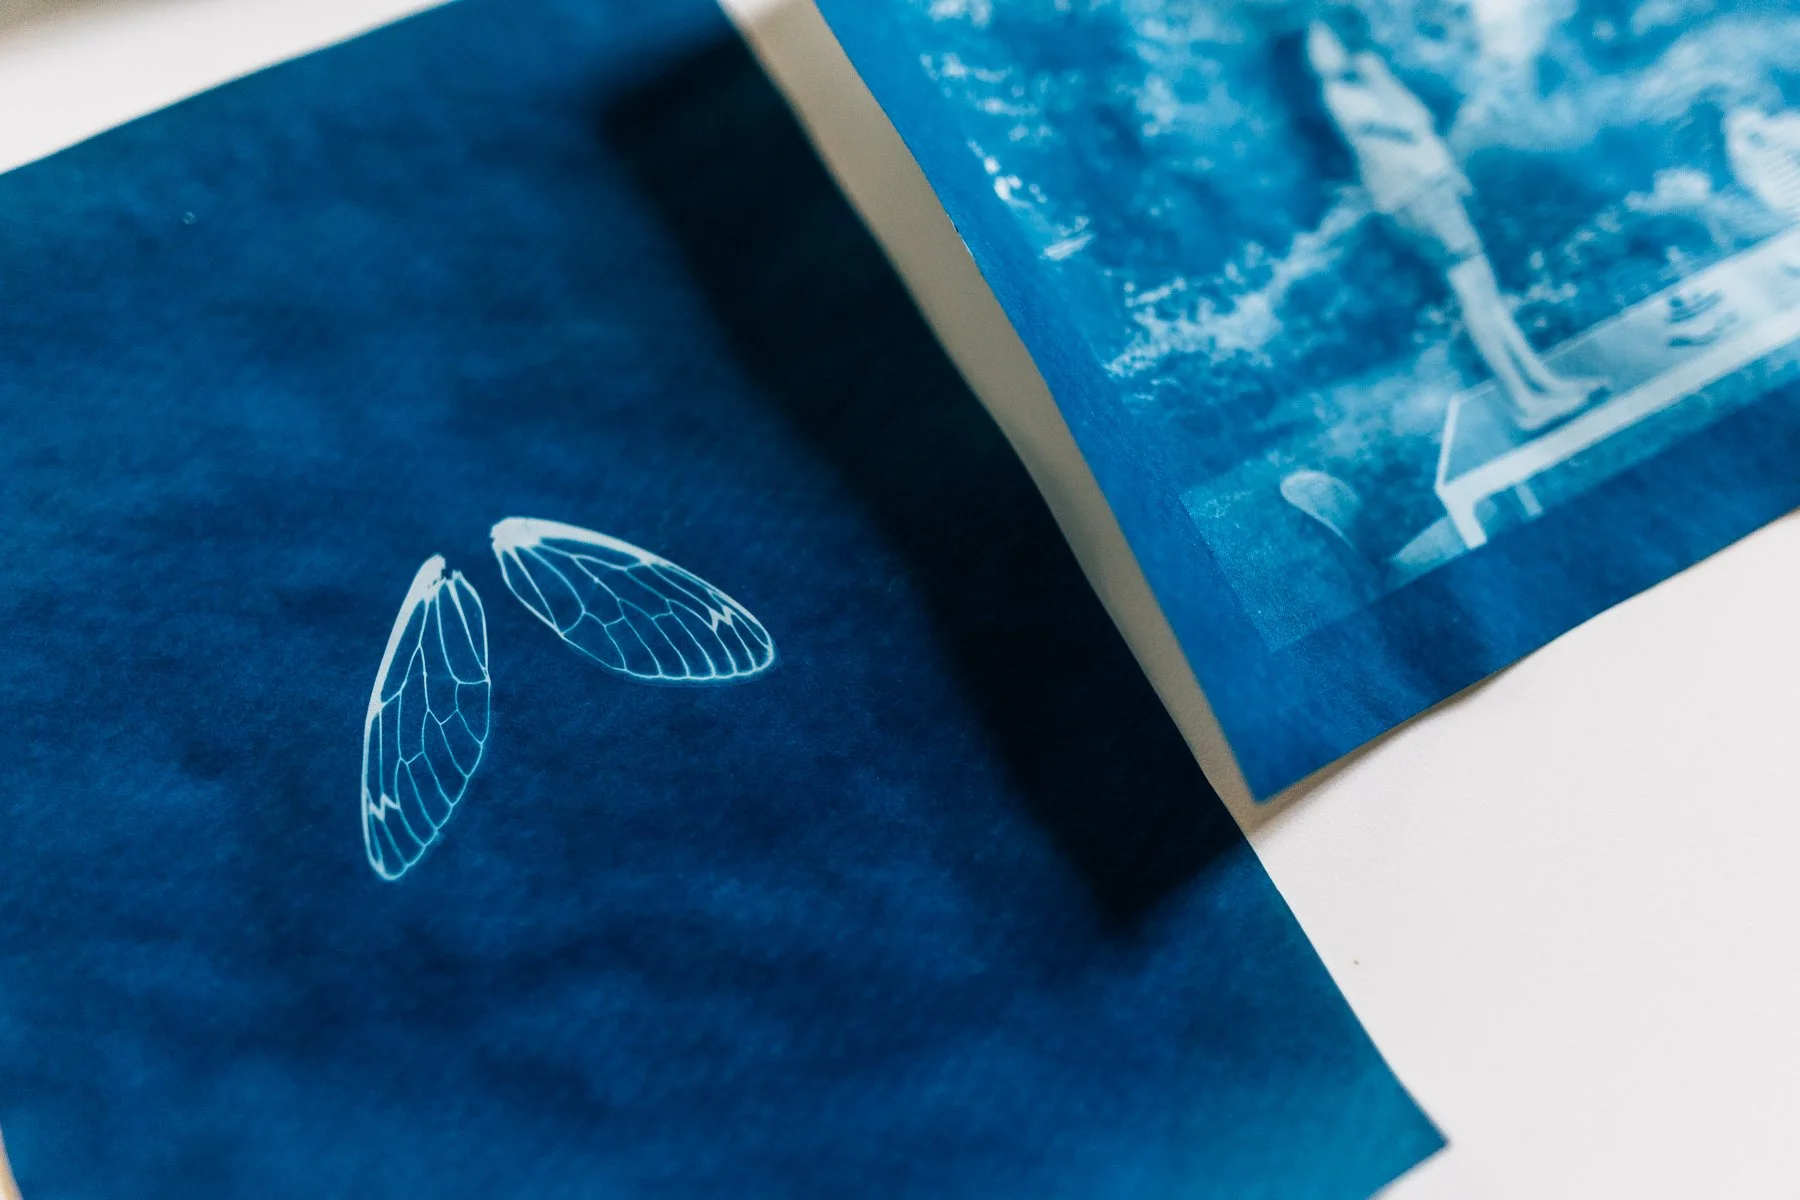
Cyanotypes, also known as sun prints, are a fascinating and historical photographic process that dates back to the 1840s.
Creating sun prints or cyanotypes is a fun and educational activity for kids! Here’s a step-by-step guide to help you:
Materials to make fun sun prints
Pre-treated cyanotype paper
Objects to create prints (leaves, flowers, toys, etc.)
A piece of clear glass or acrylic (to hold objects in place)
A piece of cardboard
A recipient with water big enough to hold at least 1 print (for rinsing)
A sunny day
Handle the cyanotype paper with care. It is sensitive to light. Keep it in the opaque envelope as much as possible. Decide on your layout first and take out the sun print only when you’re ready. Even then, try to keep it in a dimly lit area to avoid accidental exposure before you're ready.
Steps
Collect objects for your art piece:
explore your backyard, go for a nature walk in a local park, or a new area while on vacation (sand dunes, pine trees, tide pools…). Grab objects from the toy box and random things around your house.
Prepare the Layout:
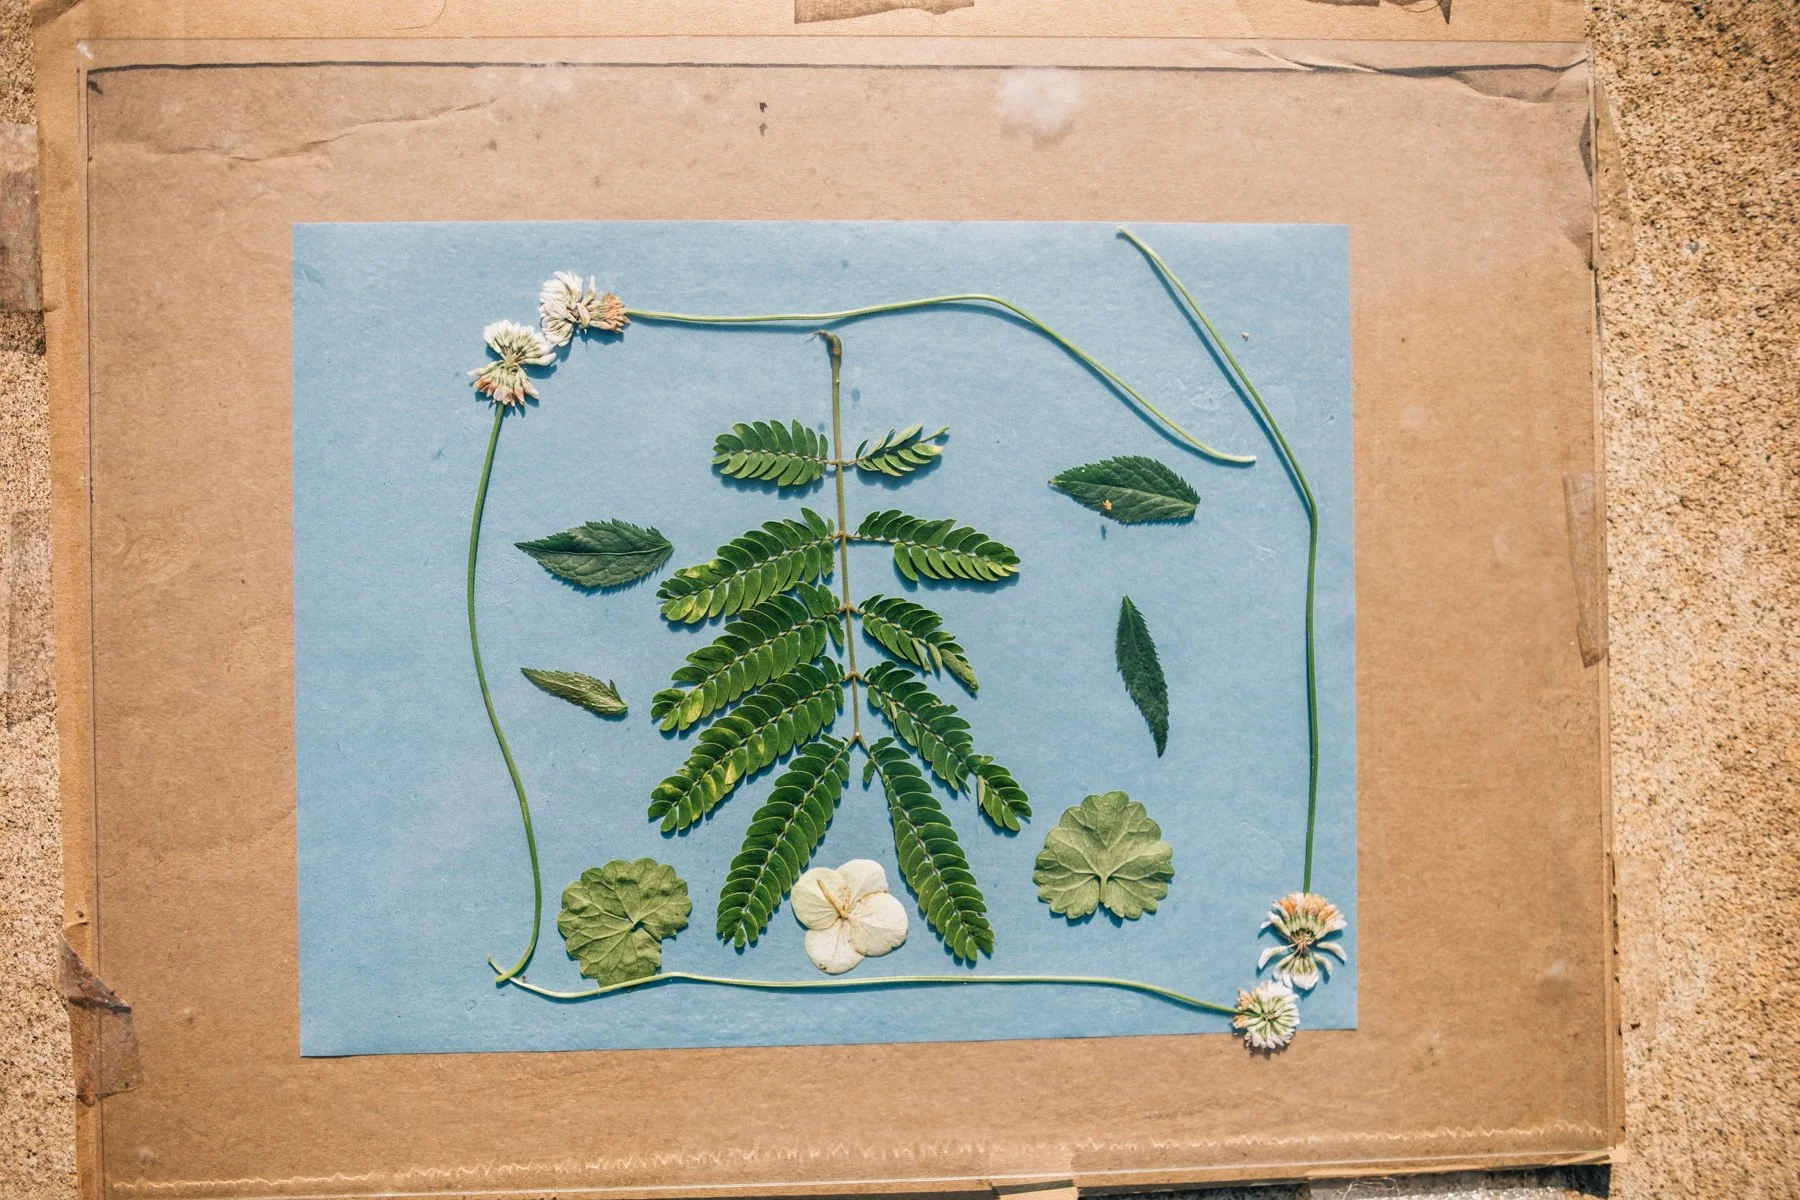
Practice with your creative objects on your cardboard. Get creative! You can use leaves, flowers, lace, toys, cut out papers/ letters, or any other objects with interesting shapes. Once you feel good about your design, pull a piece of cyanotype paper out of the envelope.
Arrange the Objects (quickly!):
Place the cyanotype paper on a piece of cardboard and arrange the objects the way you pre-determined. Time is of the essence! Now that the paper is out in the light (even if not direct), it’s going to start to slowly expose. You want to be as fast as possible to arrange your objects how you want them.
Cover with Glass:
Once you’re happy with your layout, place the clear glass or acrylic sheet over the objects (you usually have one in the kit). Press down to flatten your objects as much as possible. This helps keep them in place and ensures a sharp print.
5. Expose to Sunlight:
Take the setup outside and expose it to sunlight. You should have 3 layers: the cardboard, the print, the acrylic sheet. Allow the sun to do its thing!! The exposure time can vary depending on the intensity of the sunlight. You’ll notice the paper will fade during this process. Once it is nearly colorless or pale green, your print is ready. On a sunny day this could be as little as 1-2 minutes. Cloudy days may take quite a bit longer.
6. Rinse the Paper:
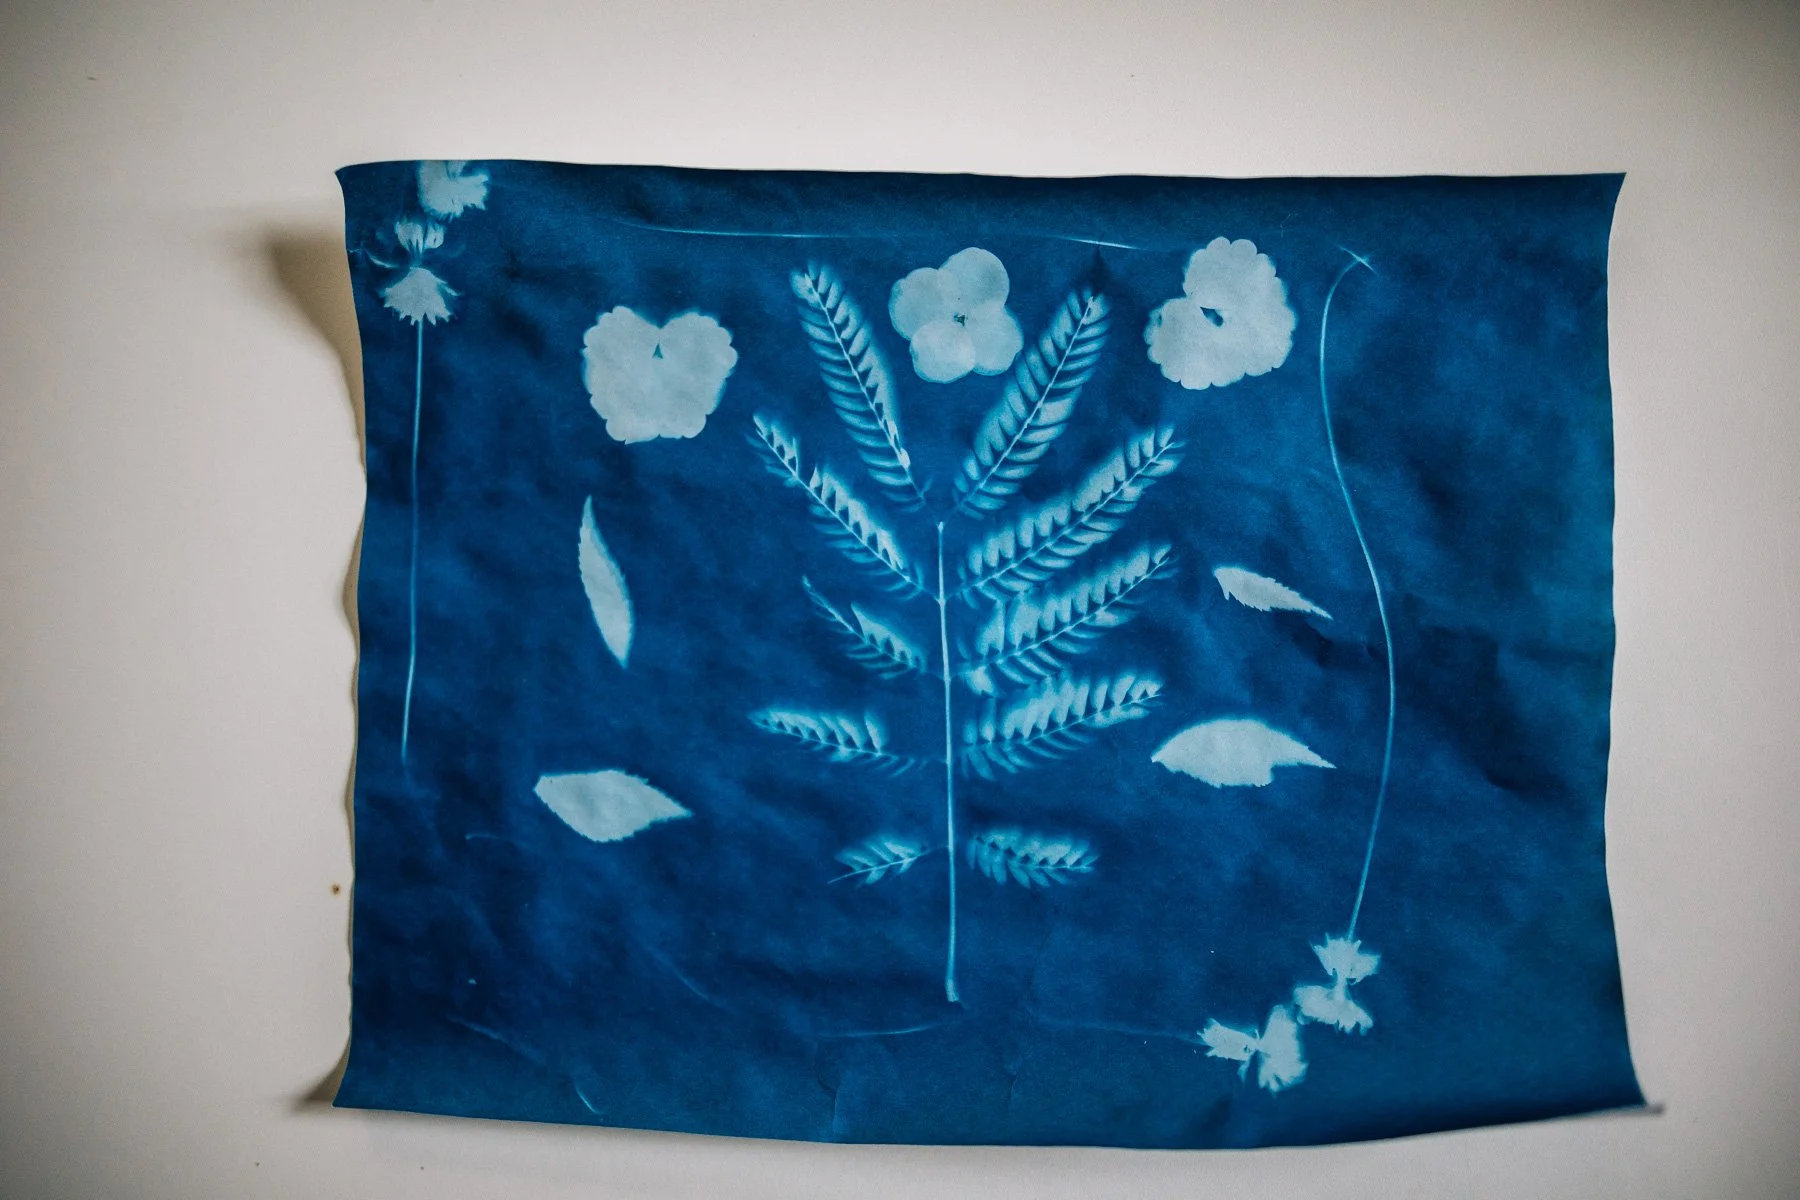
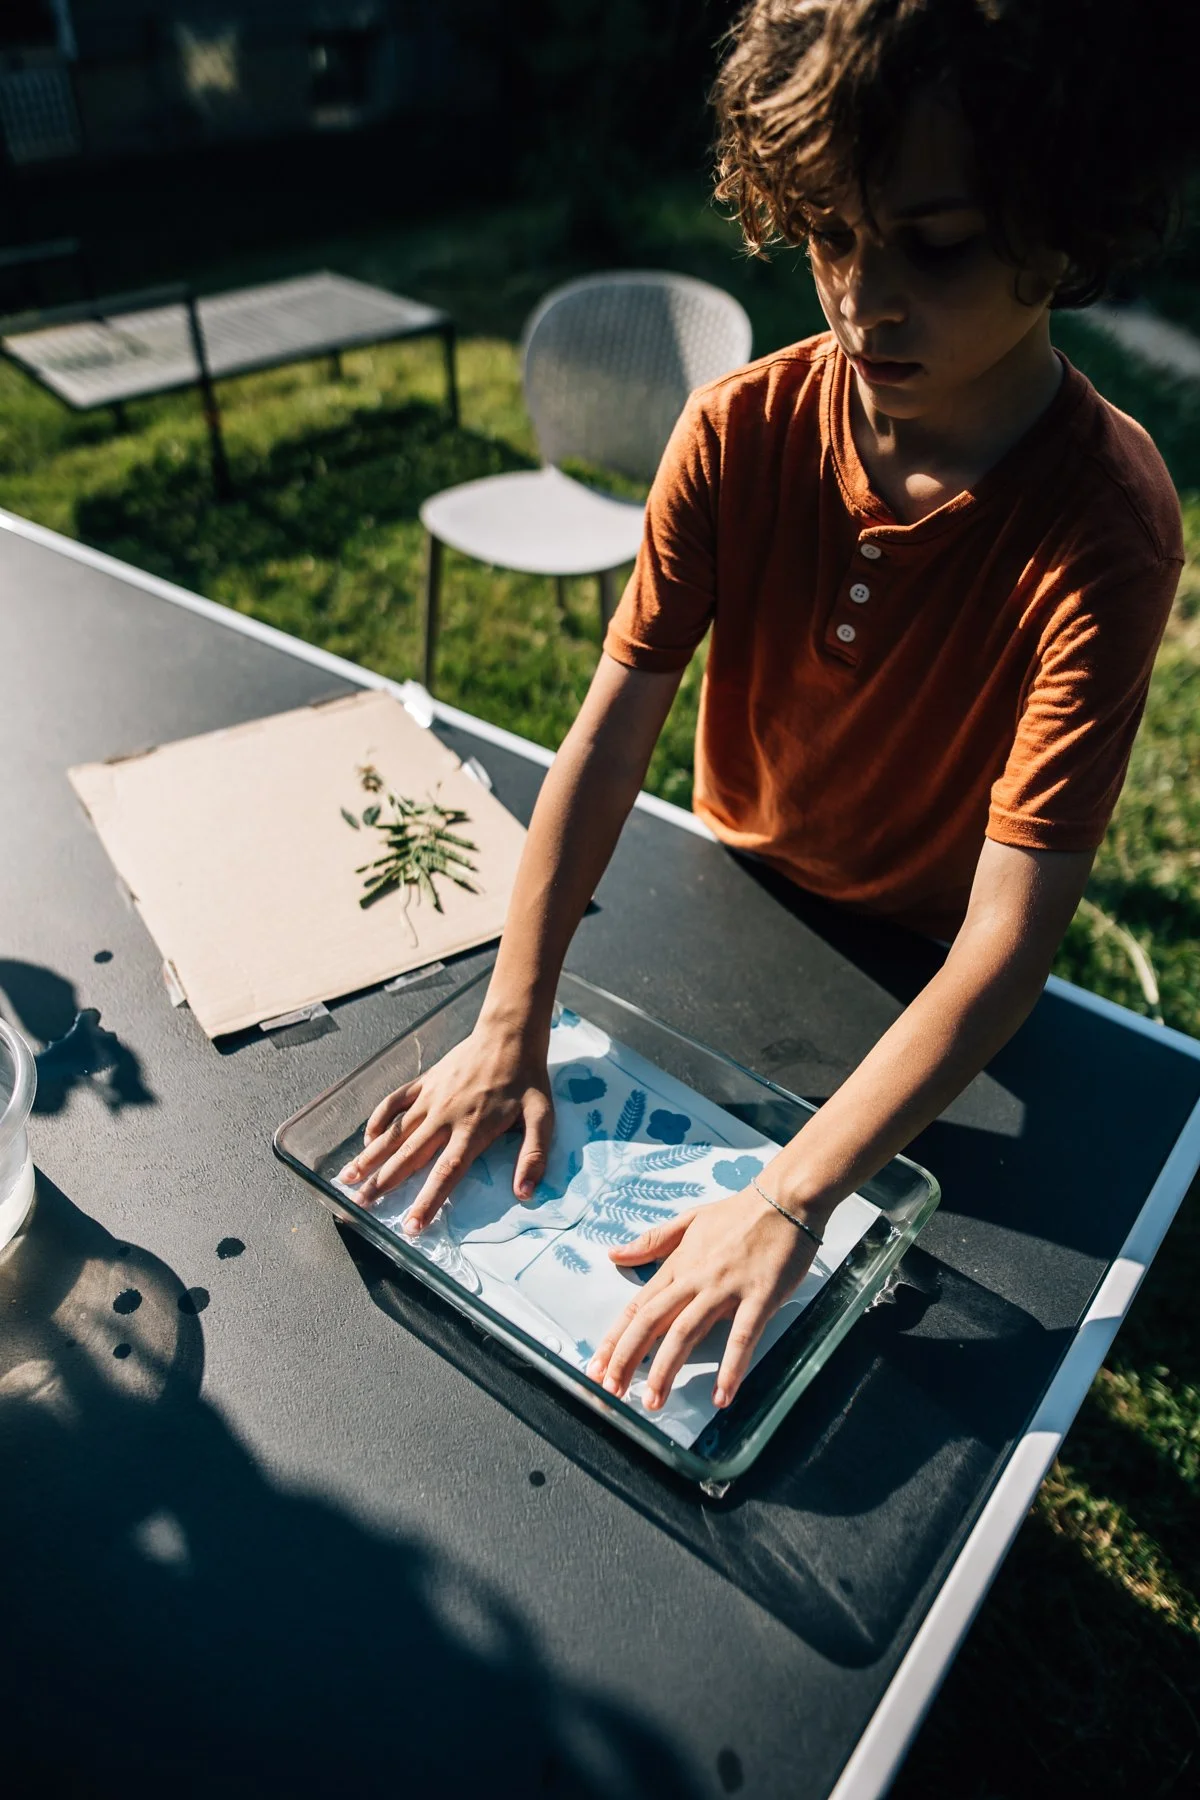
Remove the glass and your objects and immediately rinse the paper in cold water for about 2 minutes. This stops the chemical reaction and reveals the blue and white print.
7. Dry the Print:
Hang the print up to dry. You can use a clothesline and clothespins or lay it flat on a clean surface.
8. Enjoy Your Art:
Once dry, you may iron your print over a towel or place under a stack of heavy books to flatten. Your cyanotype print is now ready to display. The blue color may deepen as the print fully cures over the next day or two.
Tips to make the best cyanotypes
Experiment: Encourage kids to experiment with different objects and exposure times. They can create patterns or use stencils for unique designs.
Care: Ensure kids understand to handle the paper carefully and to avoid direct contact with the treated side of the paper.
Creativity: Let them arrange objects in fun shapes or even spell out words with small toys or letters.
Weather: Sunny days will develop your prints much faster than cloudy ones, and windy days can make it tougher to keep your objects in place on the paper. But that is why you bought the glass! Also It’s better when the sun is high in the sky around noon. The shadows will be clearer than when the sun hits slightly from the side.
Location: Find a sunny spot outdoors.The sunnier the better.
Inspiration: I’ve created a Pinterest board if you need inspiration
This process is not only artistic but also a great way to teach kids about light and chemical reactions. Enjoy your sun printing adventure!
Creating cyanotypes can spark creativity and provide a relaxing experience. This process encourages you to slow down, unleash your imagination, and appreciate the beauty of nature in its purest form. Let the natural world inspire you as you craft stunning blue-hued works of art.


